


Part Two
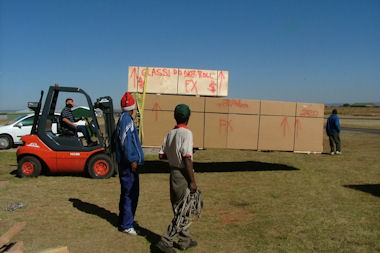
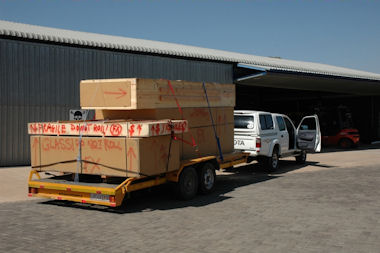
Finally the big day arrives and you have to get the kit into your workshop. Depending on where you are it will be shipped either to your address, but living in Gauteng it will most probably end up at Krugersdorp airfield. I found that it works well to rent the biggest flatbed car type trailer you can get hold of.
Unpacking
Depending on what model and what part of the kit you have ordered the details may vary, but in all cases the following will apply. You can order your RV in phases. The kits that you can order are: Empennage kit, Fuselage kit, Wing kit, Firewall forward kit and the Finishing kit. Let us assume you have ordered everything at the same time.
Make sure you have enough space to store the kit parts in an orderly manner and in such a way that you will easily find the parts again. Also store it in a way that parts belonging to the same kit, will be in one location where possible. The most frustrating part of building must be when you cannot find a part. It happens to all builders that you sometimes look for one bolt or one part all day long. Do not ask me why I say this.
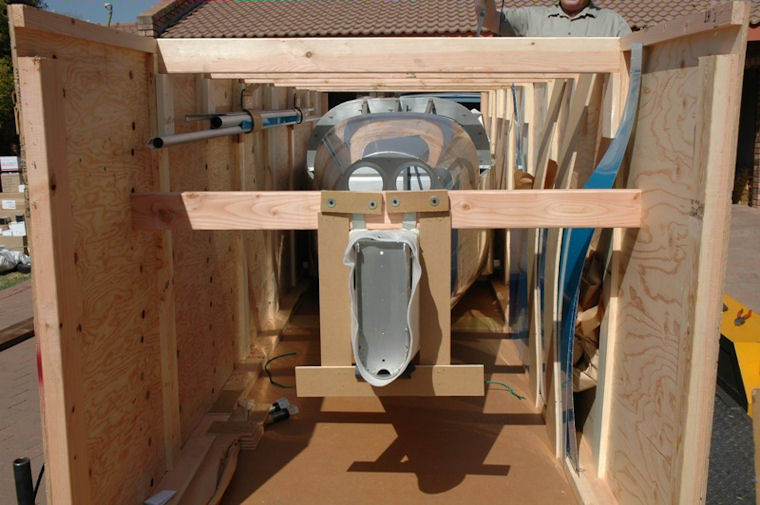
The guys and girls at the factory do a great job in packing and also a great job in “hiding” parts. Never assume the crate is empty - turn every piece of card board around and look into everything that is hollow. Also be very careful when you open up the crates. As seen in the photograph below there will be items fixed to the sides of the crate.
Inventory
It is also a requirement in my book to do a proper inventory and yes it can be a daunting task! Vans will accept your claims of wrong items or items not supplied for a limited time only after shipping. It is also a fact that not all of us are aircraft engineers and most builders will see a new world of part names, bolts and rivets sizes, etc. unfold before them.
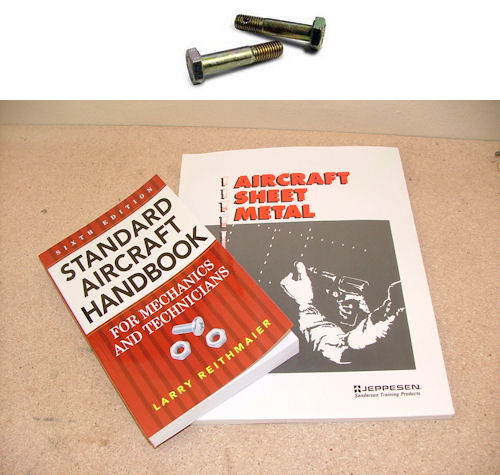
My advice here is to get a copy of any aircraft parts supplier's catalog (I personally like the one from Aircraft Spruce) or otherwise a laptop with an internet connection and an online store like Aircraft Spruce open. Take the time to memorize the meaning of all the part numbers. For example “AA” is an abbreviation for Aluminum angle and likewise “AT' will mean aluminum tube. Also use the time to study different bolt sizes and how the part numbers are being put together and what the pre-fixes and suffixes mean. For example - do not look for a drilled bolt if the part number is AN3-8A, the drilled bolts are AN3-8. Later on it will make your life much easier when you start looking for something. You may also receive a book or two when you order a RV builders toolkit. These books will start off by acquainting you with the different part numbers although the Van's instructions will also make some reference to them during the initial stages of your build.
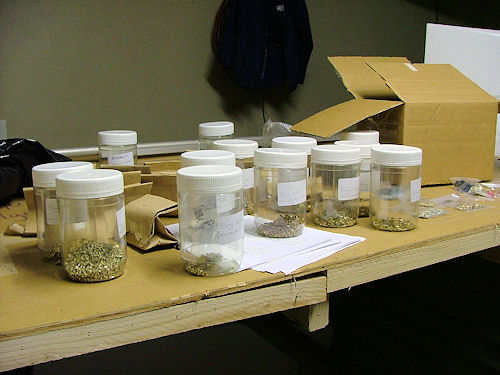
Start off with the bigger parts that you can easily identify and try to arrange them in such a way that all the parts belonging to a certain part of the aircraft are in one shelve or close to each other. Do not forget that you have paid big dollars for the crates your kit is shipped in. Empty the crates and fit a few shelves and you have “custom built imported” cupboards for most of your kit parts. I even added wheels under mine! Then move on to the smaller items and finally with the plastic bags and brown paper bags. Personally I absolutely hate digging into those brown paper bags!
A few pointers here:
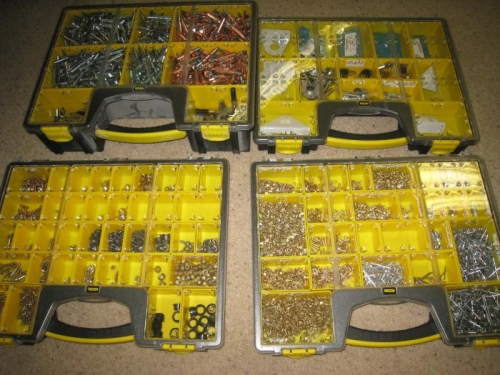
Rivets: - I prefer storing rivets in a plastic multi drawer unit - the ones that slide out. You will get bags of the same rivets, just in different quantities in each and every kit and sub kit. Throw all of them in one drawer and make sure you label the drawer correctly.
Plate nuts, washers, nuts and AN fittings: - I prefer storing these in the “Big Jim” multi compartment plastic boxes with a see through lid. Again make sure that you label all the parts correctly.

Last but not least - I find an Excel spreadsheet of the complete kit and part numbers extremely helpful so make sure you have one and keep it updated throughout your building process.
Next month we will start the building process with the Horizontal Stabilizer.
 |
 |
 Copyright © 2024 Pilot's Post PTY Ltd
The information, views and opinions by the authors contributing to Pilot’s Post are not necessarily those of the editor or other writers at Pilot’s Post.
Copyright © 2024 Pilot's Post PTY Ltd
The information, views and opinions by the authors contributing to Pilot’s Post are not necessarily those of the editor or other writers at Pilot’s Post.