


Part Four
In this series “Building an RV” I will try my best to guide you through all the steps of the home building process. Part four mainly deals with the building of the fuselage.
After those careful first steps and about 60 build hours later, you will now be quite confident with the process. With the fuselage it is also decision time because you now have to choose between a normal kit or a quick-built kit. The wings and fuselage are actually the parts defining the difference between a quick-built or a normal (slow-build) kit.
If you go the normal kit route, you can order the fuselage and when it arrives, you build as per the plans. If you choose to go the quick-build route, you have to order both the fuselage and the wings, or pay a deposit on the item you are not ordering. The reason for this is that: If you order a QB wing, they have to partly build a QB fuselage with it and keep it for you - hence the deposit.
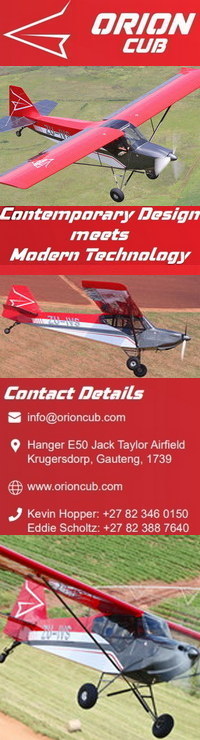
This is how you will receive your QB fuselage
People often ask me where to start with the plans and instructions when building a QB. The answer is simple - approach it is a normal kit and start at page one. Read through everything carefully and check everything. You will find that there are a lot of temporary pop rivets installed that you have to drill out to get access and to complete the build as per the plans. Reading through and checking everything helps you to understand & know your aircraft and also find if the QB guys missed something.
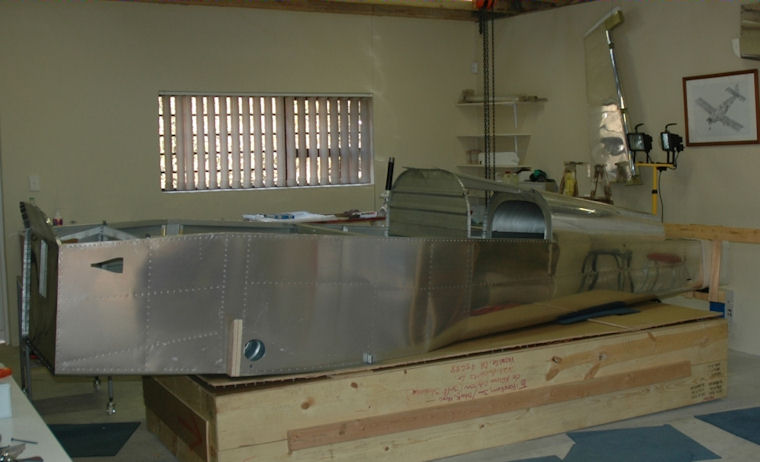
The first real task on the QB fuselage is usually the assembly of the rudder bars and pedals as well as the brake system. A nice little project that should keep you busy for a few evenings.
RUDDER BARS AND BRAKE PEDALS
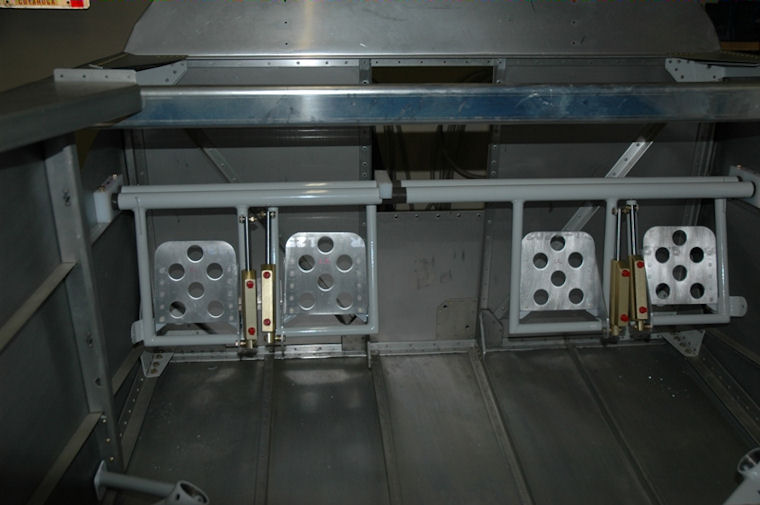
If you are considering a fuel injected engine you could also build the fuel pump and filter assembly at this stage. This usually comes with the Finishing kit, but it is a good idea to order it and get it done.
Fuel Injection
Then you will move on to the flaps, seats and you will also install the complete empennage and this is really an exciting phase with visible growth of your aircraft.
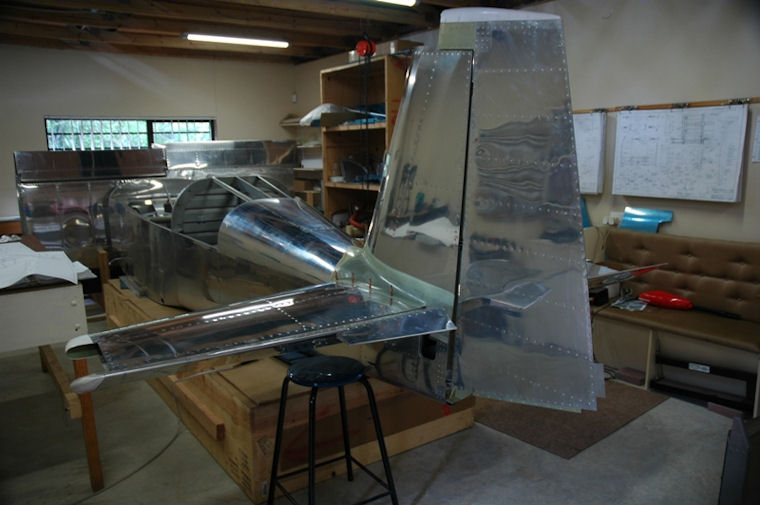
EMPENNAGE FITTED
The control system is usually next and for the first time you can sit in the cockpit moving the control column, do some hangar flying and make engine noises.
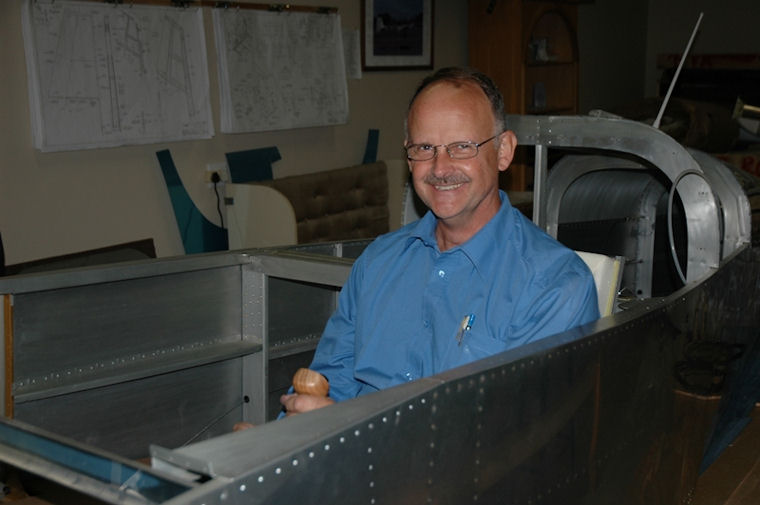
HANGAR FLYING
Besides all the different systems you have to install, you also have to finish building the QB fuselage. This is the biggest “component” of your aircraft and yes it is a lot of work. Work thoroughly and make sure you complete every step in the plans. Coming back to these will be more difficult later on.
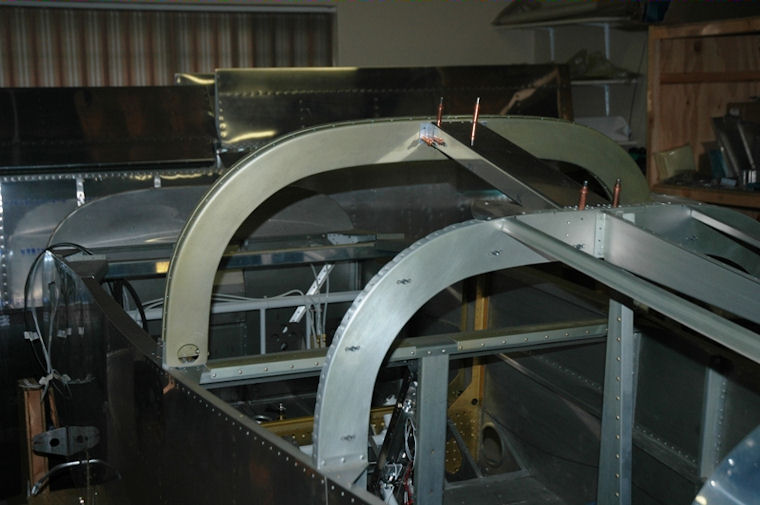
I often get asked about the two different canopies available on the side by side two seat RV's. You can be in for a long discussion depending on who you talk to. To me personally it is about the same as the discussions with regards to high wing or low wing aircraft. Tongue in cheek I always say that I like a high wing as they can fit through a farm gate. So find a reason why you like a slider or a tip-up and stick to it!
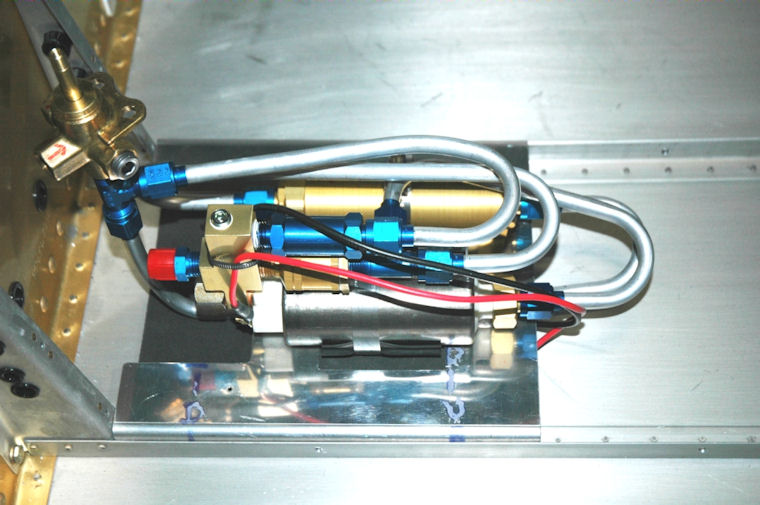
During the building process you will sometimes see your aircraft grow and during other phases the progress is not visible. Just remember to keep your head down and soon your fuselage will look like this.
Next month we will move on to finishing the Fuselage.
 |
 |
 Copyright © 2024 Pilot's Post PTY Ltd
The information, views and opinions by the authors contributing to Pilot’s Post are not necessarily those of the editor or other writers at Pilot’s Post.
Copyright © 2024 Pilot's Post PTY Ltd
The information, views and opinions by the authors contributing to Pilot’s Post are not necessarily those of the editor or other writers at Pilot’s Post.