


Part Three
In this series “Building an RV” I will try my best to guide you through all the steps of the home building process. Part three mainly deals with the actual building of the first real aeroplane parts.
We have received some questions regarding training before embarking on this wonderful journey and I do understand this concern. However, Van's has identified this problem long ago and use the empennage as training. The empennage kit plans take you through almost every step teaching you what to do and when to do it. When you drill, cut or bend there are steps required before, during and after the task and the empennage plans will take you through each of these steps. Make sure that you memorise them as these detailed instructions are not included in the other kit part plans.
What I describe next probably has happened about 30,000 times all over the world. I think this is roughly how many kits have been sold!
Preparing:
Use a files or Scotchbrite wheel to “break” the edges of HS-609PP (See Sec E-E). Lay the HS-609PP rear spar reinforcement bars …………………. And so starts an amazing journey of learning, building your dream machine and eventually flying it.
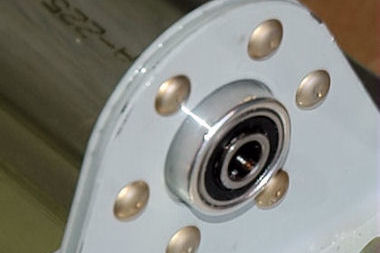
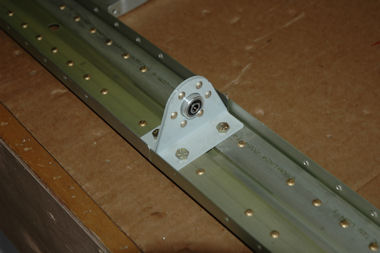
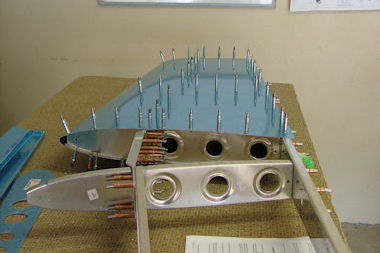
The first actual riveting is to rivet the bearing as shown below, between the two powder coated brackets. Like many others we did not like the first attempt and did it over, only to learn from a mentor that a bad looking rivet is most probably stronger than one that has been drilled out and replaced!
Assembling:
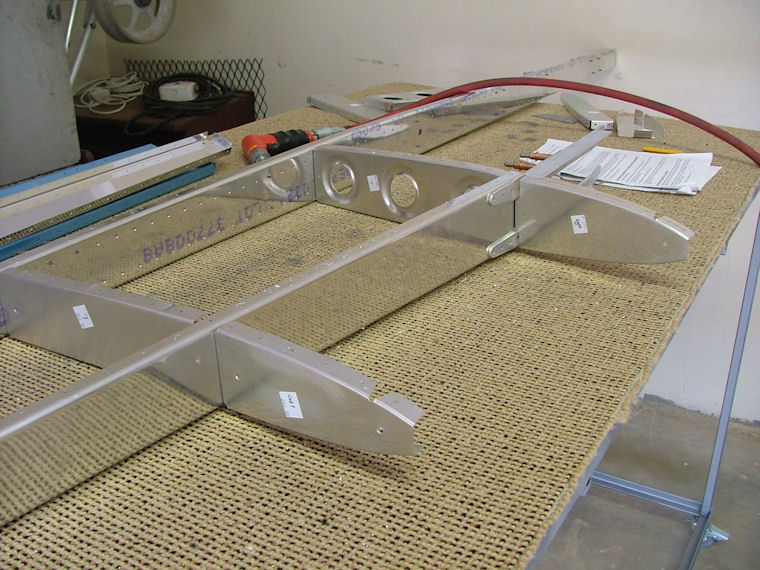
Very soon you will get used to the process that often feels like you are building your RV about three times. Assemble the part by Clecoing it together, match drill open holes, move clecoes, match drill those holes, and take it apart again.
Then carefully deburr all holes. Deburring is something often played down as not important, but I have recently seen a rudder with a lot of cracks around rivets and I am sure this was due to tress risers from not deburring.
The next step is usually the art of dimpling the holes that will be riveted with countersink (AD-426) rivets. You have to do it right and precise if you want your underlying parts (like the spar) and skins to mate perfectly.
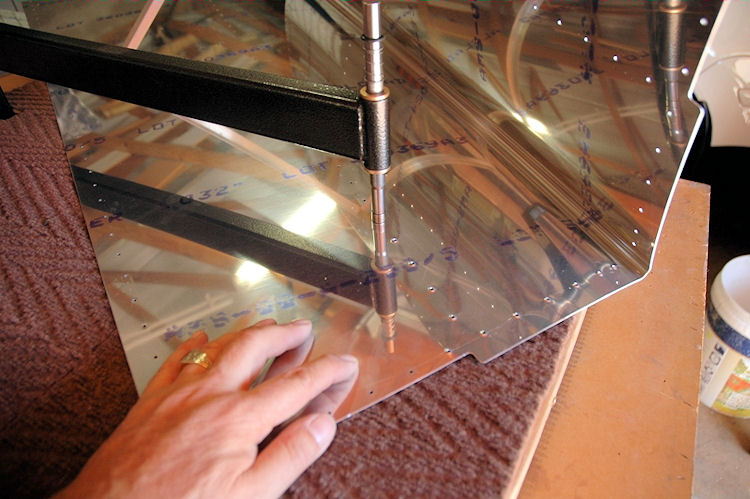
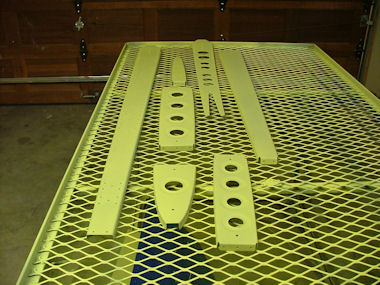
Final Assembly:
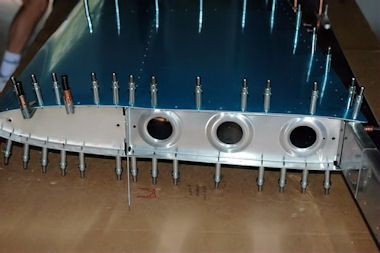
After all this you will usually prime all the parts and then do the final assembly. On the Horizontal Stabiliser you will rivet the top skin on first as it is slightly easier to get in and you want the top to look good. You will need a helper in order to accomplish this, one person will hold the bucking bar in place and the second one will use the pneumatic riveter. Closer to the edges you will use the main squeezer. Very important at this stage is to remember to get your AP (Approved Person) out to inspect the HS before closing the bottom skin.
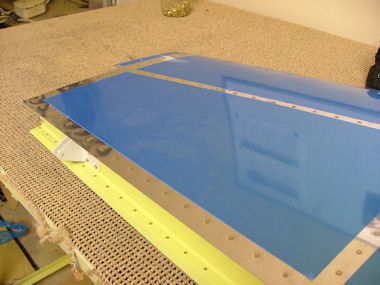
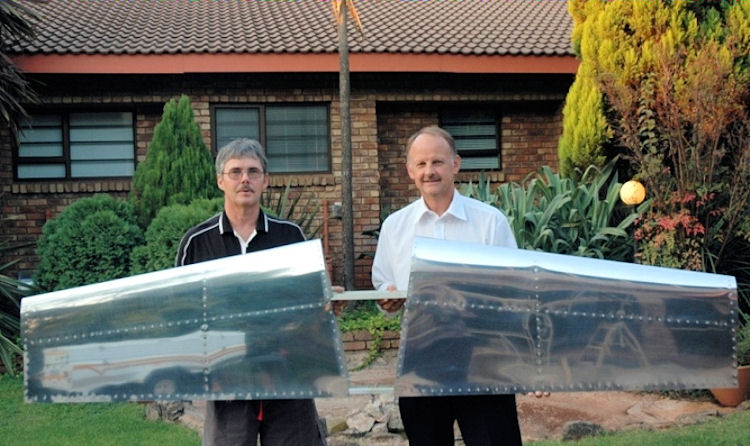
Finishing the HS on your RV will most definitely put the RV Grin on your face! From now on building the rest of the Empennage will get easier as you will understand the procedures and steps to follow.
Next month we will move on to building the Fuselage.
 |
 |
 Copyright © 2024 Pilot's Post PTY Ltd
The information, views and opinions by the authors contributing to Pilot’s Post are not necessarily those of the editor or other writers at Pilot’s Post.
Copyright © 2024 Pilot's Post PTY Ltd
The information, views and opinions by the authors contributing to Pilot’s Post are not necessarily those of the editor or other writers at Pilot’s Post.